Posted on July 6, 2023
How to Install a PolyDock
How to Install a PolyDock

Written by PolyDock Products Marketing
While the particulars will vary based on how many dock sections you’re connecting and the water conditions where you’re installing it, installing a floating dock system is pretty easy:
- Make sure you have all of the parts, equipment, and know-how;
- Assemble the connectors;
- Connect the dock sections by using the connectors;
- Secure it in the water with an anchoring system;
- Finish it off with accessories, and finally,
- Make sure to perform the necessary preventative maintenance!
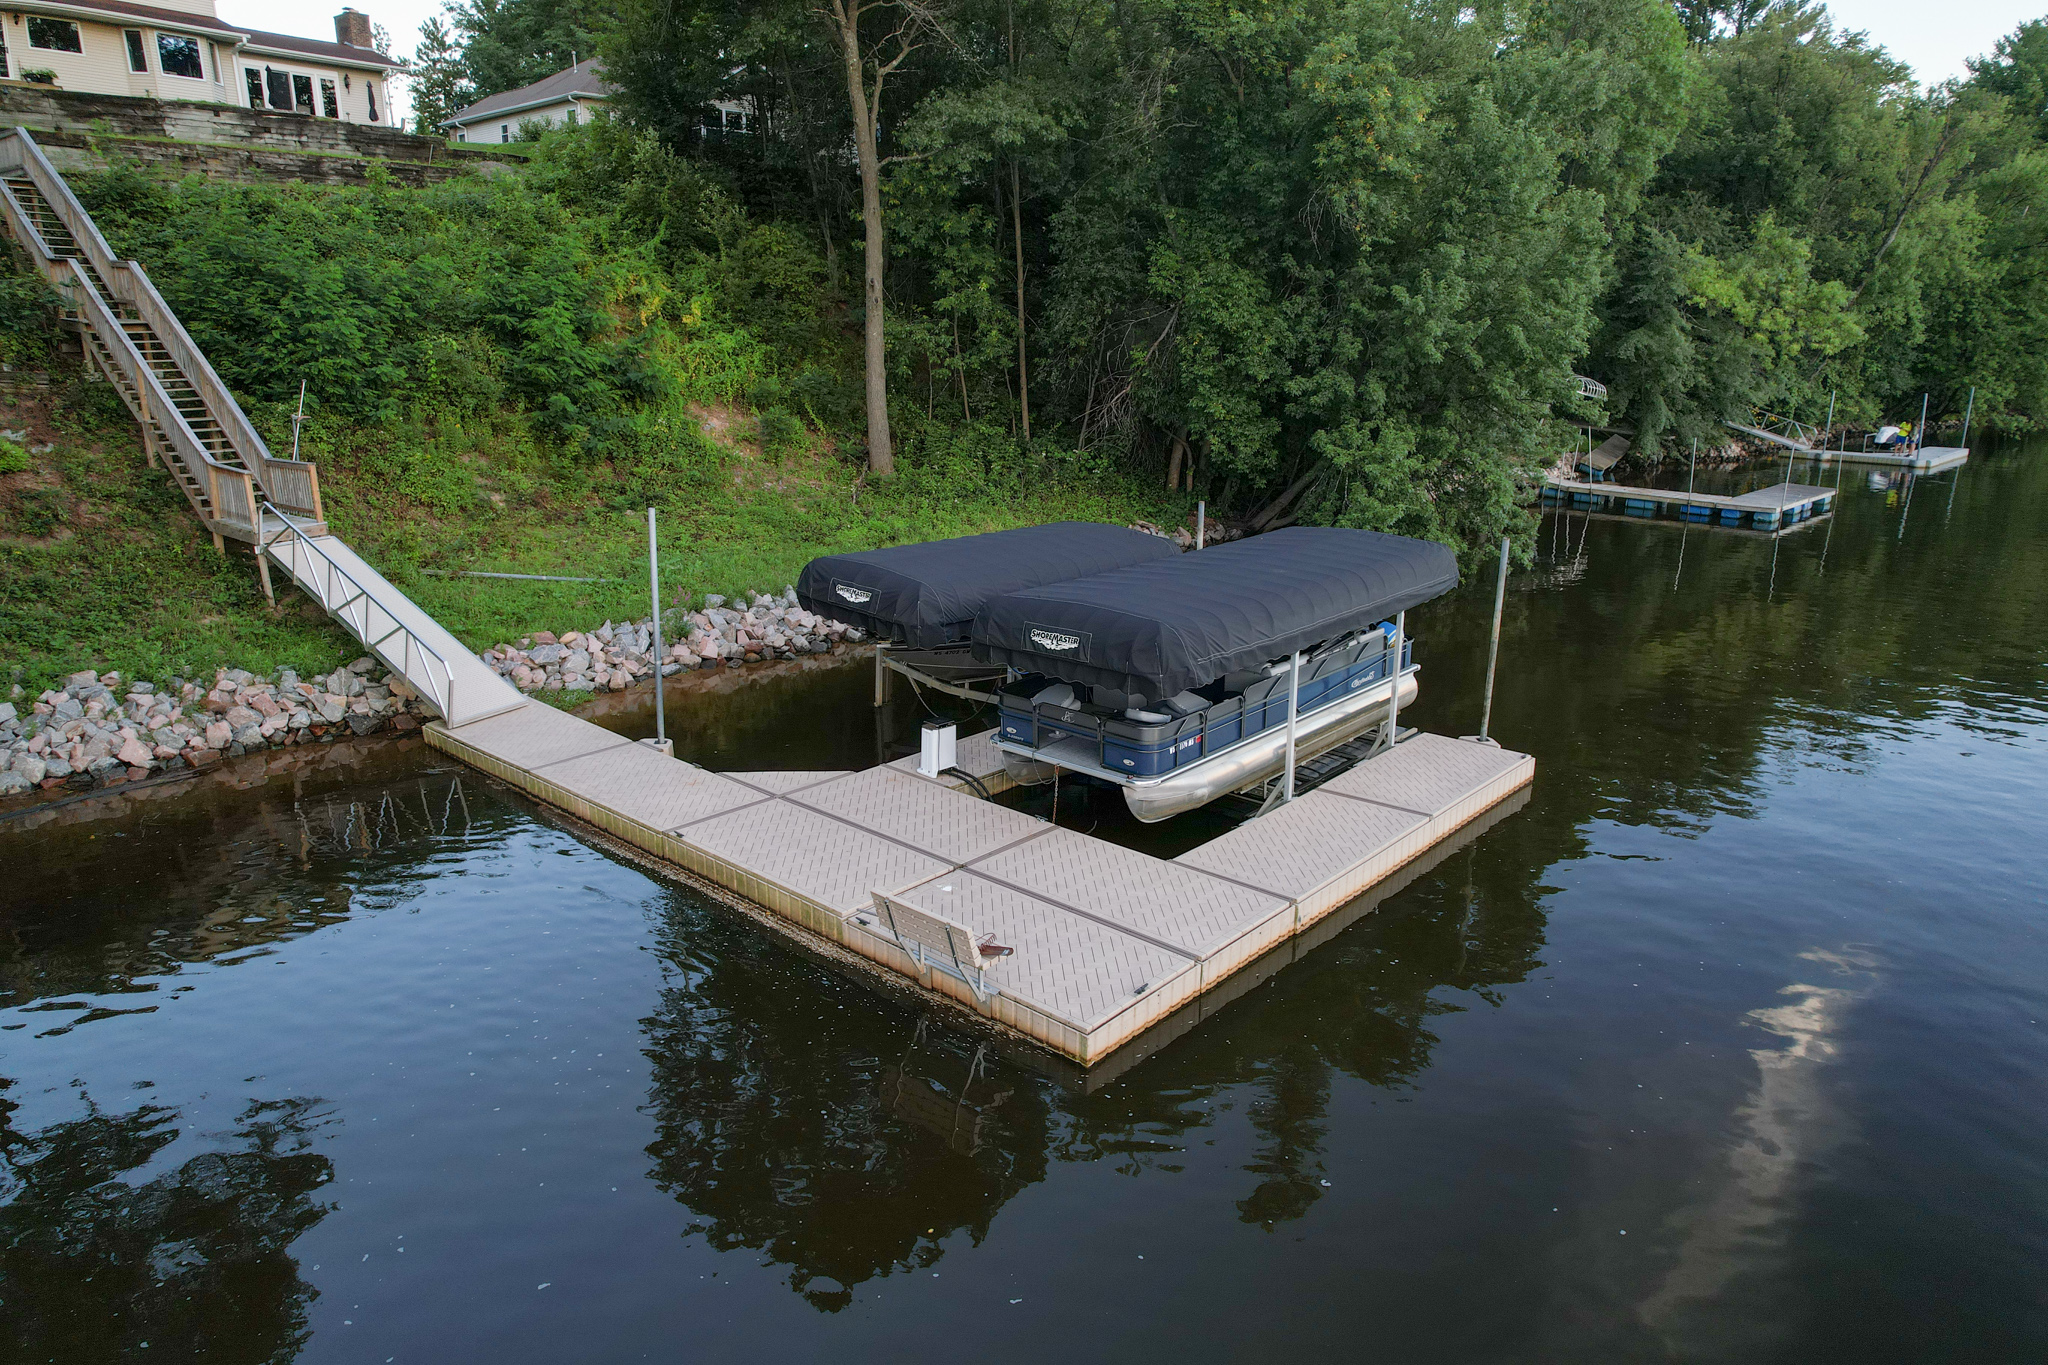
Floating dock systems are becoming an increasingly popular addition to many waterfronts, and it’s easy to see why. In the right kind of water, floating docks are just as stable and secure as fixed docks but with the flexibility to rise and fall with the water levels and keep important equipment out of the water. Installing a floating dock is very easy once you have all the pieces, parts, and how-to on getting the system together and into the water.

Before You Begin
PolyDock floating dock systems are easy to assemble and install, but that doesn’t mean you shouldn’t be safety-conscious. We recommend that your first floating dock installation is done by trained personnel or your local PolyDock dealer and that subsequent installations are done by at least two people wearing proper clothing and safety gear. Follow all of the instructions in your owner’s manual, and ensure you understand it completely before beginning the process and checking it in between steps. Don’t try to assemble the PolyDock system if any pieces are missing (your owner’s manual will include a list of parts to check). Check in with your local authorities about any ordinances that you need to follow for placement and anchoring before you install your system.
Assemble the Connectors
Assembling the connectors requires poly dock connector rods, PolyDock bottom and top connectors, secure connector rods with oval screws, hex bolts, lock washers, and rectangular washers, as well as the tools needed to fasten them. The number you’ll need depends on how many connectors you ordered, your system, and the configuration you have in mind.
Insert the poly dock connector rods into the bottom connector, secure them with the oval screws, and fully tighten the screws. Insert the hex bolt through the lock washer, rectangular washer, and the top connector and thread it about a quarter of an inch onto the connector rod. Do not cross-thread!
Connect the Sections Together
Now that the connectors are assembled, there’s something that can connect the dock sections together. We recommend doing this on a day with minimal wave activity and standing in an area where it’s possible to connect dock sections while you’re in the water. We also recommend you start with the section furthest away from the shore. Once those are connected, you can push them out and connect the next section, making the last section you work on the one that’s closest to and connects directly to the shore.
Place the connector loosely on the ridge of one of the dock sections where you plan on connecting it, and bring the second section over. Hold the dock connector and push down on the bolt head to hold the bottom of the connector down. Push the second dock section down to get it under the connector, then slide it into position. The connector should fit over the top and bottom ridges, and when you’re sure it does, tighten the bolts from the top without over-tightening them.
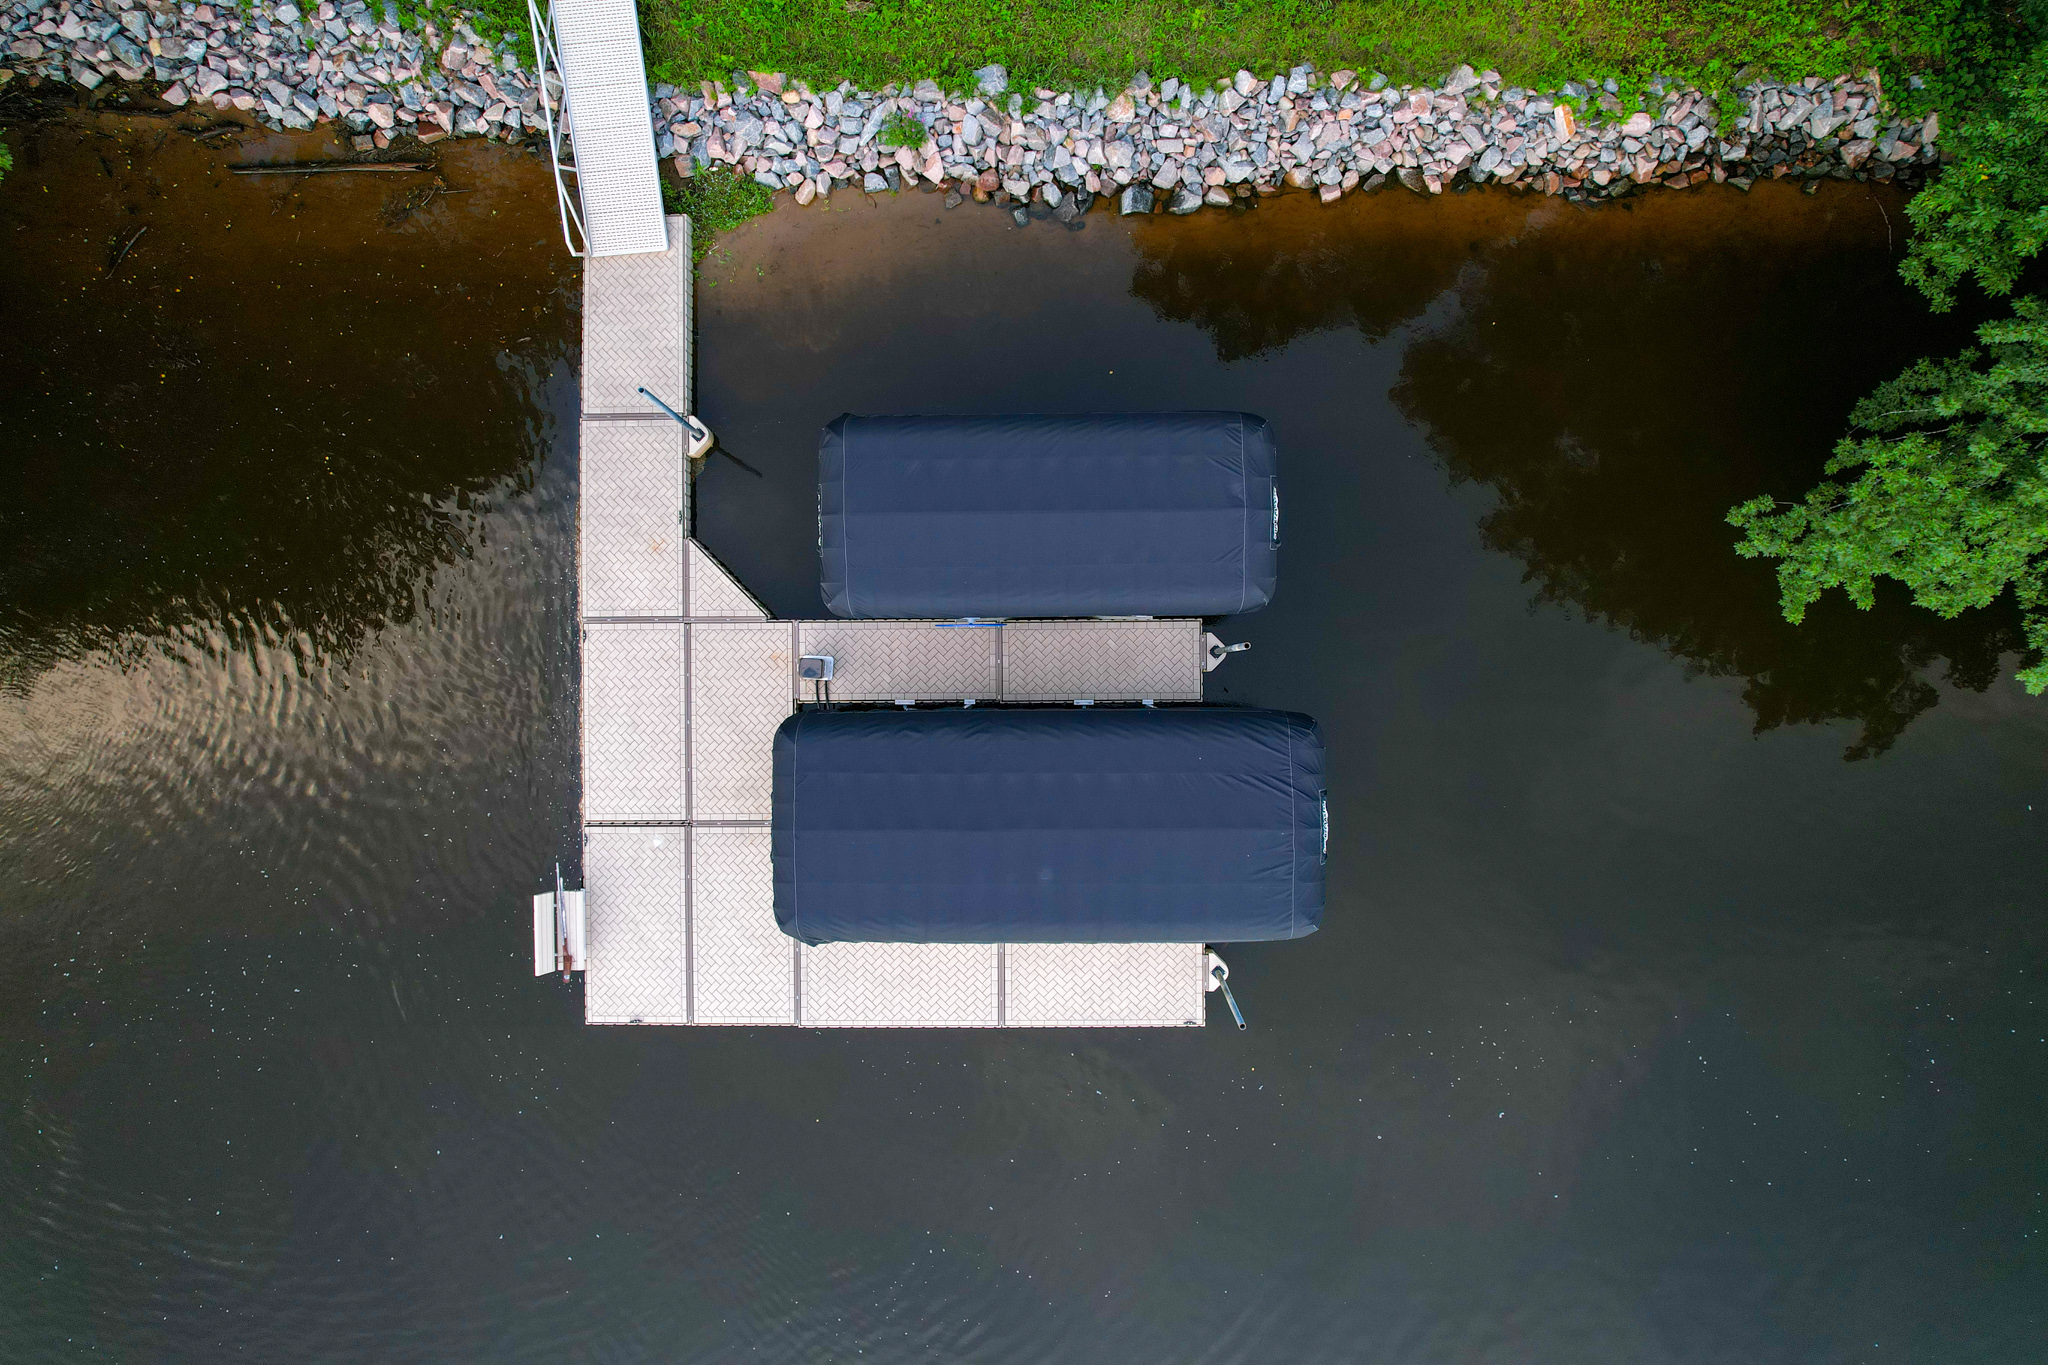
Anchoring
A PolyDock system can be anchored in many ways, and the particulars of assembly and installation will depend on which system you’re using. PolyDock floating docks can use pile guides, pile hoops, chains, or stiff arms as anchoring systems. Initial installation by a professionally trained in PolyDock systems will ensure that you’re using the right anchoring system for your area and ensure that the job is done right the first time. Diagrams and guidance are also available on our website.
Add Accessories
PolyDock has a large selection of accessories for your floating boat dock system that can help complete your waterfront. All PolyDock accessories can be attached and moved along the perimeter of any dock section as your needs change with few tools and little hassle. However, each of the dock accessories will have its own set of installation instructions in the owner’s manual and also on the PolyDock website, or you can ask for professional help from your PolyDock dealer.
Future Maintenance and Ownership
While PolyDock systems are built to last when assembled properly, you should still perform regular inspections of your own to ensure that everything remains in good working order. Connections should be inspected at least monthly and tightened or replaced as needed. If your area experiences a lot of ice in winter, your PolyDock should be removed from the water to prevent damage. When installing or removing your PolyDock, do not drag it over rough surfaces. Your deck surface may be washed as needed with gentle, eco-friendly soap and water. Keep in mind that while extended time in direct sunlight may cause the plastic on PolyDock to expand and become somewhat wavy, this is cosmetic damage that should not affect the strength of the dock.
All PolyDock products have instruction sheets available on our website if you need to reference them. If you have other PolyDock installation questions or want to purchase a PolyDock system of your own, contact us online to get in touch with an authorized dealer in your area.